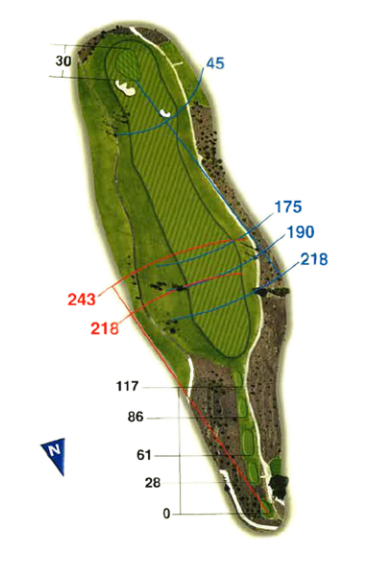
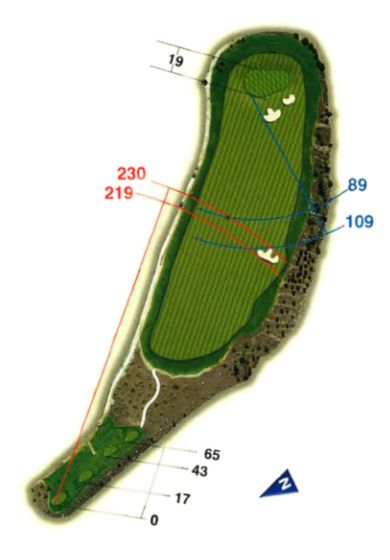
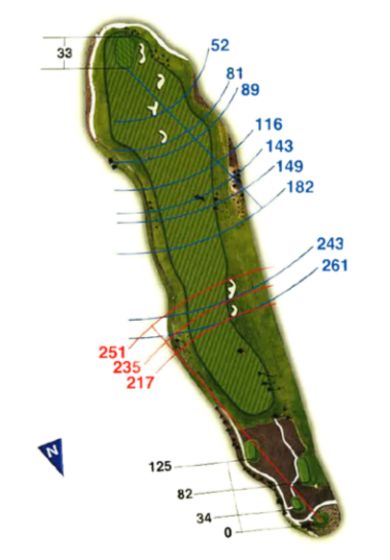
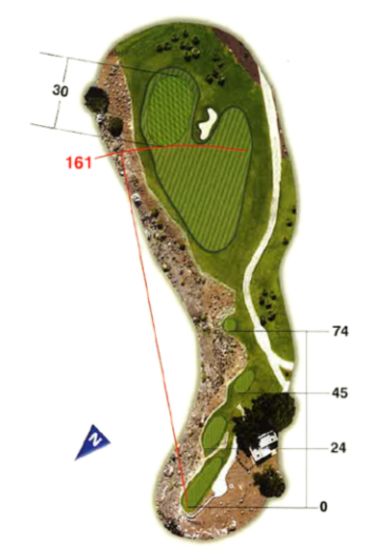
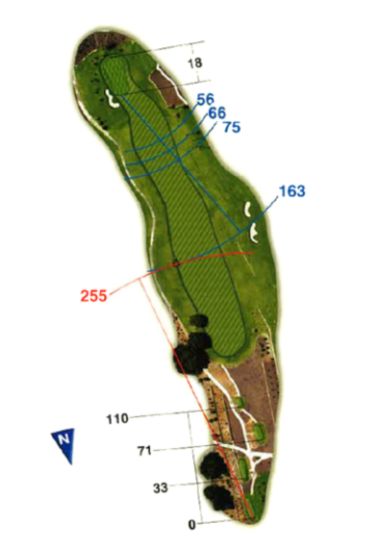
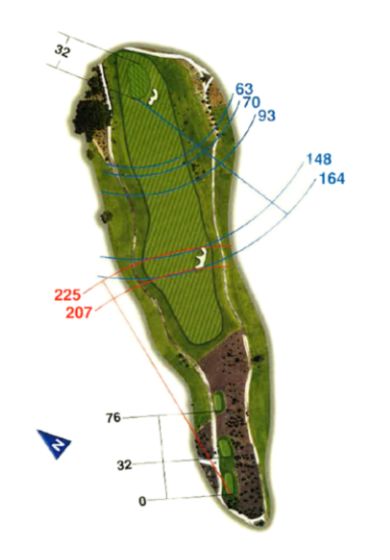
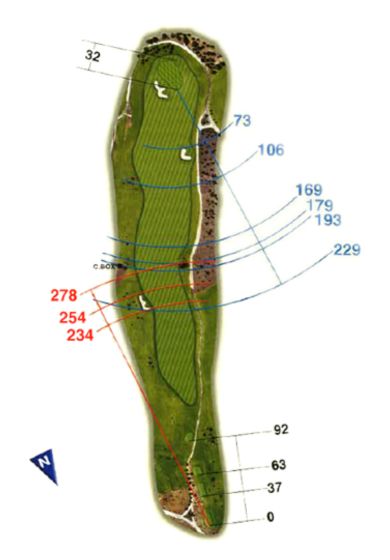
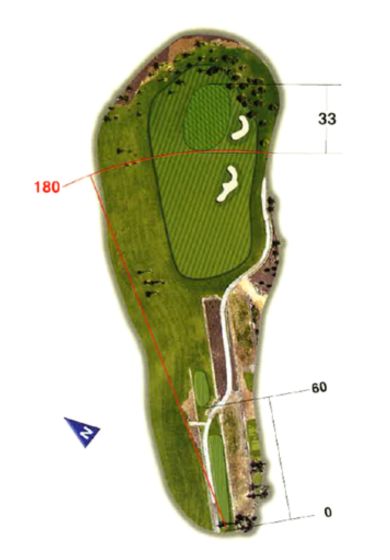
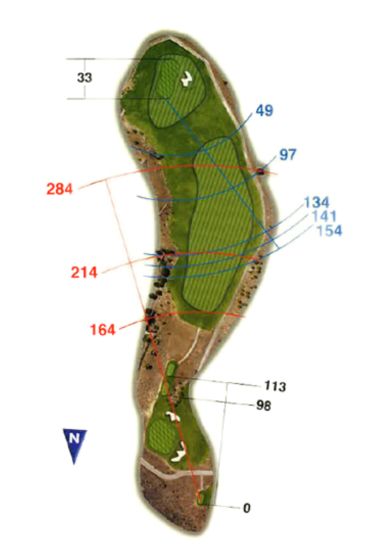
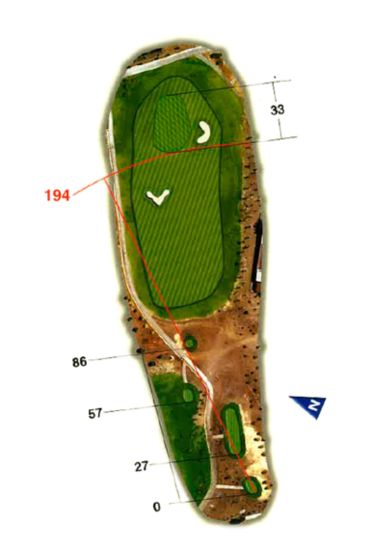
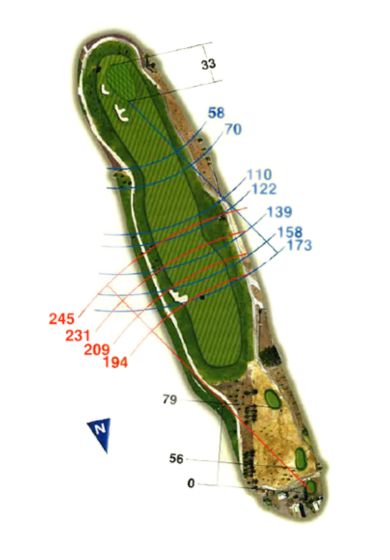
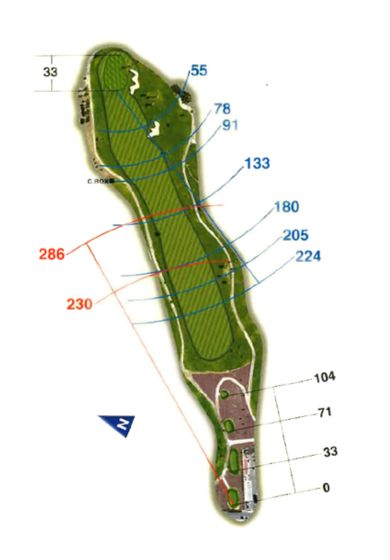
The course tecina golf
18 holes overlooking the sea

UNIQUE DESIGN
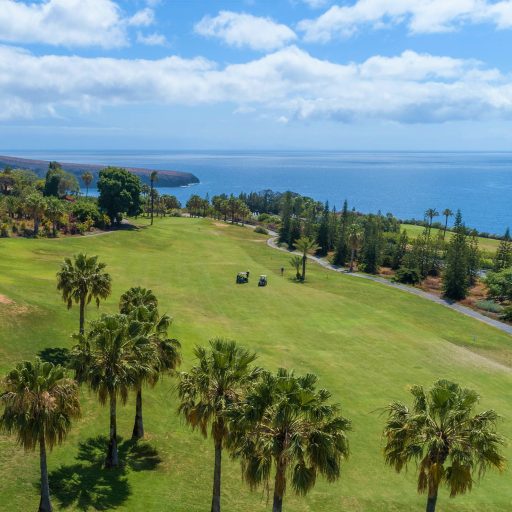
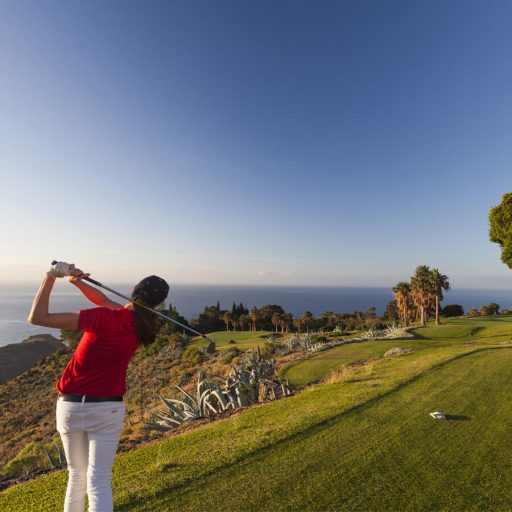
Located on the hill of Lomada de Tecina, the course overlooks the blue ocean waters. In the words of its designer, leading British architect and writer Donald Steel, it is “the most exciting and challenging project I have ever designed and built. It is unusual because you have to climb up to the first teeing ground, and then it is downhill all the way. The views are breathtaking.”
The 18 Tecina Golf holes overlooking the sea measure a total of 6,343 metres from the white tees, and it is a par 71 golf course.
Fairways and greens are surrounded by a profusion of native Canary Islands vegetation, such as Canary Island spurge cactus and tabaiba shrubs, and trees bearing such fruits as banana, avocado and mango, each giving off its characteristic aroma.
La Gomera was declared a World Biosphere Reserve by UNESCO in 2012.
AN UNRIVALLED SETTING
The overwhelming presence of nature, the immensity of the Atlantic, the striking presence of the Mount Teide volcano,, and unshakeable tranquillity are some of the sensations players feel during their round at Tecina Golf, which together with the unbeatable climate, y que junto a un clima privilegiado hacen que se convierta en una experiencia única.
The course is located on the south coast of La Gomera and is considered one of the three best golf courses in the Canary Islands, according to the prestigious “Golf World” magazine.
HOLE 1
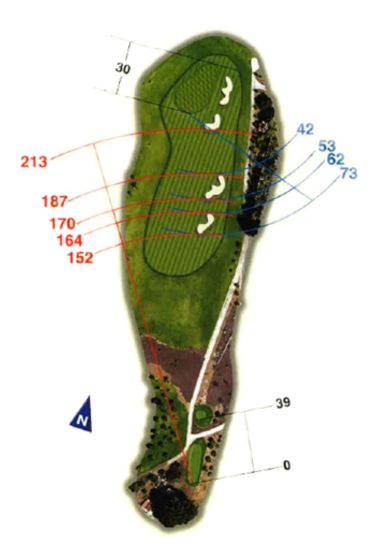
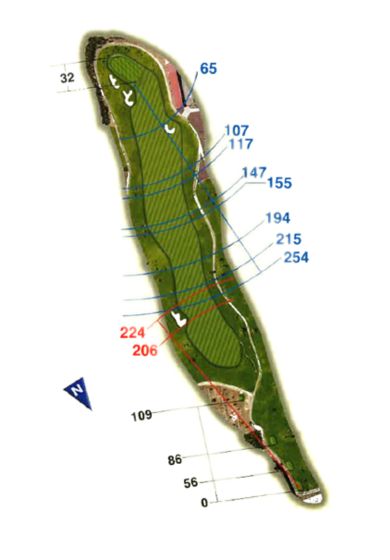
Your journey begins at the 1st hole, where you will immediately notice that all holes play downhill. The fairway slopes from right to left, so even though it may appear wide from the tee, the ball will naturally roll left. For your second shot, it is advisable to aim to the right side of the green, over the bunker, since the green also slopes from right to left.
- White: 420 metres
- Yellow: 389 metres
- Red: 364 metres
HOLE 2
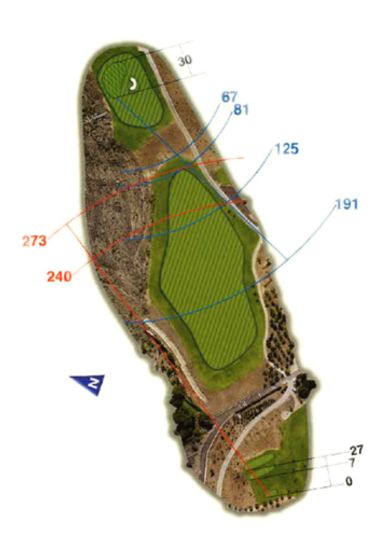
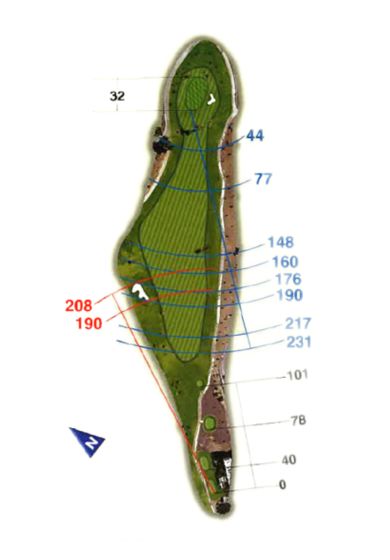
On the 2nd hole it is often better to use a 3-wood rather than the driver, in order to leave yourself a level stance for the second shot. Be cautious of the entire left side of the hole, as it is very easy to lose your ball there. The approach to the green plays downhill, with the Jardín Tecina Hotel and the ocean in the background. Take great care in your club selection so as not to overshoot the green.
- White: 334 metres
- Yellow: 310 metres
- Red: 286 metres
HOLE 3
This par 5 requires both your drive and second shot to be played towards the traditional Canarian water well located on the left-hand side of the fairway. Once you have cleared it, only a simple approach shot of around 80 metres remains to reach the green.
- White: 500 metres
- Yellow: 478 metres
- Red: 459 metres
HOLE 4
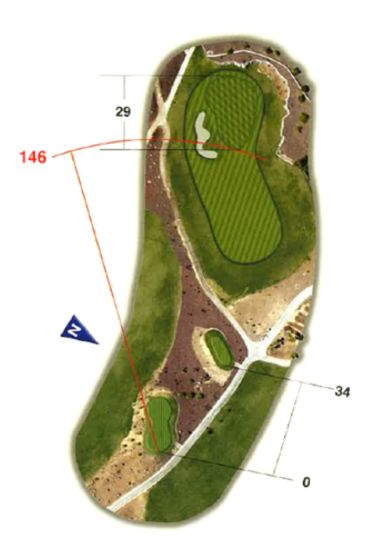
Upon reaching the 4th hole, a par 3, you will be able to admire the impressive views over the Tapahuga ravine and the striking contrast between the lush green of the golf course and the arid landscape of the gorge. However, you must focus carefully on your stance to ensure you reach the green, as there are red stakes on the left and two bunkers protecting the right.
- White: 170 metres
- Yellow: 148 metres
- Red: 130 metres
HOLE 5
From the tee you will notice the large fig trees lining the fairway, which you must clear with a solid strike in order to reach the green in two shots. The green has a significant slope, so precise putting will be essential.
- White: 434 metres
- Yellow: 400 metres
- Red: 367 metres
HOLE 6
On this hole it is important to place your ball on the left side of the fairway in order to have the chance of reaching the green in two. The green, surrounded by flamboyant trees, plays downhill and is guarded by a bunker on the right-hand side.
- White: 385 metres
- Yellow: 354 metres
- Red: 310 metres
HOLE 7
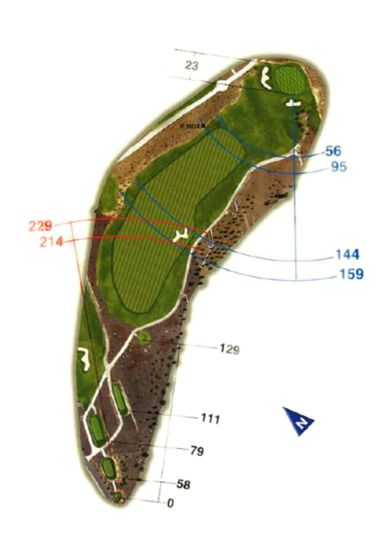
From the tee, it is advisable to favour the left side of the fairway, as this hole forms a slight dogleg to the right. For your second shot, aim to position the ball to the left of the bunker, from where you can reach a downhill green featuring two levels and offering views over the Playa Santiago pier.
- White: 476 metres
- Yellow: 448 metres
- Red: 421 metres
HOLE 8
On this par 3, aim for the centre of the green, taking care to avoid the bunker on the right. Once you move from the tee to the fairway, you can see the golf course’s composting area.
- White: 196 metres
- Yellow: 168 metres
- Red: 135 metres
HOLE 9
This is a recovery hole: with a good tee shot aimed at the left side of the fairway, you may be able to reach the green, which is protected by bunkers on the right and has undulations that must be carefully read when putting.
- White: 242 metres
- Yellow: 235 metres
- Red: 201 metres
HOLE 10
This is the signature hole of the course, offering breathtaking views of the Tapahuga ravine and Punta Gaviota. A 3-wood is recommended from the tee, ideally placing the ball on the right side of the fairway near the avocado trees, avoiding the ravine to the left and the frontal hazard. The second shot is perhaps the most demanding on the course: downhill, to a green protected by a bunker on the right and red stakes on the left, with stunning views of the ocean and Mount Teide in the distance.
- White: 363 metres
- Yellow: 342 metres
- Red: 336 metres
HOLE 11
This short par 3 requires accuracy towards the centre of a beautiful green, in order to avoid the bunker on the left or the out of bounds on the right.
- White: 160 metres
- Yellow: 145 metres
- Red: 116 metres
HOLE 12
From any of its tees, this hole offers spectacular views of Mount Teide and the ocean. Precision is vital with your tee shot so that the ball comes to rest on a flat lie, allowing for a comfortable second shot to the green. The green itself has a marked slope and is protected by bunkers on both sides, with an out of bounds behind, filled with native flora such as agaves and aloes.
- White: 391 metres
- Yellow: 375 metres
- Red: 345 metres
HOLE 13
This downhill dogleg from left to right requires a drive aimed at the right side of the fairway, as there is a strong slope to the left. The second shot also plays downhill, to a narrow green where going long can be costly.
- White: 383 metres
- Yellow: 291 metres
- Red: 273 metres
HOLE 14
On this par 3 you must strike the ball solidly and high, aiming towards the monumental Araucaria tree, in order to reach a green protected by an elevated bunker on the left.
- White: 213 metres
- Yellow: 189 metres
- Red: 172 metres
HOLE 15
Accuracy from the tee is essential on this hole, as the fairway narrows due to the immense fig tree on the right. After your first shot, you will find an undulating fairway where the ball tends to run a lot, and the approach to the green should be played from the right side to avoid the bunkers on the left.
- White: 378 metres
- Yellow: 340 metres
- Red: 307 metres
HOLE 16
The slope rating considers this the most difficult hole on the course. A strong tee shot is required to reach an elevated green, which features a gentle undulation making putting a challenge.
- White: 431 metres
- Yellow: 396 metres
- Red: 362 metres
HOLE 17
From a tee surrounded by banana trees, you face a downhill shot and a slight dogleg to the right, so aim to place the ball to the left of the palms. The second shot is towards a bunker, and if you clear it, your third shot is uphill with limited visibility of a very flat green, offering beautiful views of Playa de Santiago.
- White: 459 metres
- Yellow: 448 metres
- Red: 413 metres
HOLE 18
On the final hole, the monumental Araucaria trees near the tee and the pines lining the right side of the fairway stand out. Play your tee shot to the left of the fairway, avoiding the out of bounds and the trees on the right. The second shot is particularly enjoyable for its views of Mount Teide, leading to a downhill green protected on the right by a heart-shaped bunker.
- White: 408 metres
- Yellow: 385 metres
- Red: 364 metres


- tecinagolfcc@fredolsen.es
- reservastecinagolf@fredolsen.es
CASA CLUB
- 922 145 950
© 2026 | Hotel Jardín Tecina es una marca de Grupo Fred. Olsen


